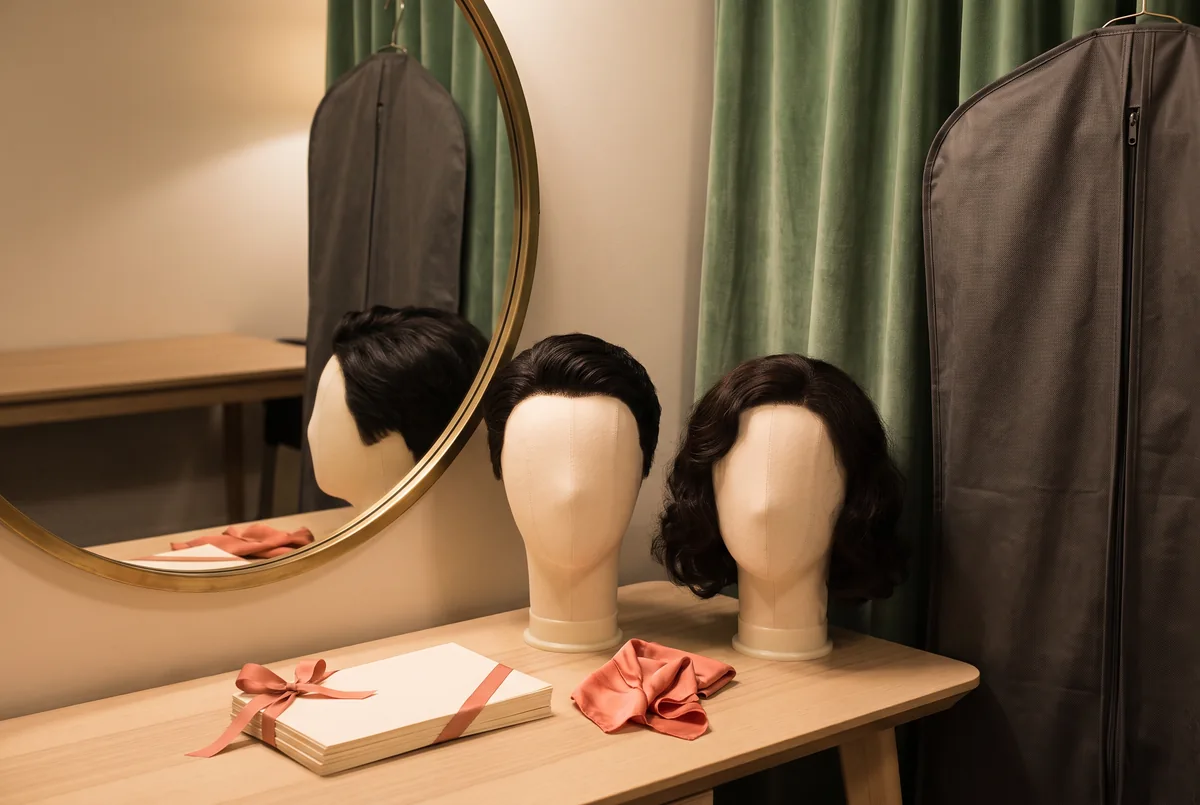
For a close-up, assess the hairline at the planned camera distance and angle, not only in a mirror at arm’s length. Place the front against your own facial reference points, then treat the catalogue photograph as a styling reference—not a promise that the same outline, density or finish will appear on every wearer or every camera.
A camera can make a quiet front edge look abrupt, or a softened outline disappear under strong light. This guide asks what the hairline must do in this shot and what can be verified before styling.
Start with the shot, not the product page
Write down the closest intended framing before comparing construction. “Close-up” is too broad: a phone presenter, a moving gimbal portrait and a still beauty image direct attention differently. A catalogue image shows controlled model, styling, lighting and angle—not proof of fit, scalp comfort, adhesion or photographic performance for you.
Use lens-to-subject distance as a planning tool. It is more useful than labels such as “HD” or “invisible,” which cannot replace a view in your lighting. The bands below are not guarantees; lens choice, sharpening, movement and editing can change the result.
| Intended use | Working camera distance | What viewers are likely to notice | First check before committing |
|---|---|---|---|
| Wide stage or event coverage | 3 m or more | Overall silhouette and colour balance | Secure sizing, crown shape and colour under venue light |
| Talking-head or medium shot | About 1–3 m | Part placement, fringe, temple balance | Whether the part and front suit the planned side of the face |
| Tight interview, portrait or beauty detail | Under about 1 m | Front edge, knots, density transition and flyaways | Hairline outline, lace tone, lighting test and visible separation |
Before a shoot, set up the planned device at roughly the planned distance. Take stills with the subject facing front, turning each side, looking down and speaking. Video matters too: a hairline that looks fine in one still may draw attention when the forehead creases or when a key light catches the front edge during movement.
Decision rule: the closer and more static the shot, the more time belongs to outline planning, test framing and a backup styling option. Do not convert that rule into a guarantee that one construction will be undetectable.
Make a front-outline map before you place the cap
A believable front does not require copying someone else’s hairline. It needs a transition proportionate to the wearer’s forehead, temples and usual part. Begin with clean, dry skin and hair; use a removable cosmetic pencil only if compatible with the area and remove it gently. Never force a low line merely to create more “hair.”
Make four observations in a mirror and then repeat them through the camera:
- Centre reference: identify the middle of the forehead and note how much forehead is normally visible when the brows and face are relaxed.
- Temple reference: see where the front naturally changes direction near each temple. A symmetrical cap can still need an asymmetrical visual balance because faces are not perfectly symmetrical.
- Part direction: decide whether the part will be central, off-centre, swept back or covered by fringe. The part creates a route that leads the viewer’s eye to the front.
- Movement boundary: lift brows, speak, turn and tilt. If the intended look only works with the head held rigidly still, plan a different part, fringe or shot rather than relying on a stronger claim from the product image.
Trace the intended visual edge at centre, left temple and right temple. Compare it at conversation and shooting distance. A straight, low, equally dense front can look graphic on camera even when it seems neat in a mirror. Small irregularity, controlled flyaways or a changed part may work better than lower placement.
Compare cap construction against the job in front of you
Cap names describe construction features, not a universal hierarchy. A lace-front construction may prioritise the forehead edge; full lace can offer more parting or styling flexibility. Neither label tells you density, fit, lace shade, wear method, care instructions or result under a particular lamp. Confirm details for the exact item.
FlintHub Academy and OwnStrand have the same owner. OwnStrand is an external site, and the product-category links below are planning references rather than independent recommendations or a substitute for checking the particular listing and its written terms.
For a front-focused comparison, use the lace front wig category to note questions about the listed front construction and sizing.
For broader styling requirements, use the full lace wig category to check the individual listing’s parting and handling conditions; the category name alone is insufficient.
| Construction question | A lace-front construction may suit when… | A full-lace construction may suit when… | What remains to verify |
|---|---|---|---|
| Front visibility | The forehead edge is the main visible area and the rest is likely to be covered or conventionally styled | The production expects varied partings or more exposed styling around the head | Exact lace extent, density at the hairline and the cap’s stated parting flexibility |
| Shot plan | A mostly front-facing talk, portrait or controlled side turn is planned | A rotating shot, up-style or changing part is genuinely needed | Whether the actual style and camera angle expose areas outside the listed feature |
| Practical trade-off | You prefer to focus the inspection budget on the front and fit | You need styling latitude and accept that it still needs fit and care checks | Size range, adjustment method, care instructions and applicable written return conditions |
Use the table to eliminate a mismatch, not to select by label alone. If a scene never exposes the back or changes parting, fit, front placement and lighting may matter more than broader styling flexibility. A flexible cap cannot correct a front placed too low, a blunt density transition or a colour that shifts under venue lighting.
Use the FOCUS sheet to make a repeatable decision
A useful comparison preserves uncertainty. The FOCUS sheet assigns each question to you, the listing, the seller or the camera test. Fill it in for each option and mark unknowns “unconfirmed”; that signals what to ask before a hair test.
| FOCUS field | Write this down | Decision use |
|---|---|---|
| F — Framing | Closest distance, orientation, movement and key-light direction | Sets the standard for how much front detail needs checking |
| O — Outline | Centre point, temple balance, part direction and fringe plan | Prevents a generic or overly low placement decision |
| C — Construction | Exact cap, lace area, size information and adjustment details stated for this item | Separates listed facts from assumptions based on a category name |
| U — Use conditions | Duration, indoor/outdoor conditions, wardrobe contact and permitted styling tools | Identifies friction, heat and movement questions early |
| S — Seller statements | Care guidance, materials, handling restrictions and written transaction conditions | Creates a record of what the retailer actually represents |
Do not score options until facts are filled in. Mark fields green for documented and tested, amber for documented but untested, and red for unknown or incompatible. Fewer claims but no red fields can be easier to plan around than attractive imagery with several unknowns.
For education teams planning a camera-facing activity, a Photography workshop can provide a relevant setting to practise framing, lighting and review language. It does not make a cap suitable by itself; the wearer, product conditions and actual production plan remain separate decisions.
Ask construction and care questions that a photograph cannot answer
Send short, exact questions tied to the item, colour and size you are considering. Ask whether the hairline is pre-plucked or otherwise described, where the lace begins and ends, whether the hair can be parted in the proposed location, what measurements the brand uses for the listed size, and how the cap is adjusted. Ask whether the shown colour is affected by studio lighting, whether the supplied condition matches the listing, and which handling or care restrictions apply.
Ask separately about the material. Human hair, conventional synthetic fibre and heat-friendly synthetic fibre are not interchangeable care categories. Jon Renau’s care guide, for example, says its conventional synthetic fibre should not be heat styled or blow-dried, while its heat-resistant range has different conditions; that manufacturer-specific advice should not be generalised to every brand or product.1 Do not apply heat, dye, bleach or chemical processing because a photograph suggests a certain finish. Follow the exact maker’s directions, and consult a qualified stylist where appropriate for the particular material and process.
Here is a retailer-question checklist you can copy into an email or chat:
- Is this exact colour/size listing the same construction as the photographed sample?
- What is the stated lace location and cap measurement range for this specific item?
- Which parting locations are supported by the construction, rather than merely pictured?
- Are heat tools, colouring or adhesive products allowed under the maker’s written conditions?
- What care products and storage method are recommended, including drying the cap before storage?
- What written inspection, exchange or return terms apply to a tried-on or altered item in my order location?
Hong Kong’s Trade Descriptions Ordinance framework addresses false, misleading or materially incomplete product information.3 That is a reason to request clear written particulars and read them carefully, not a promise that every online purchase can be returned or that any particular retailer has made a breach. Terms, eligibility and remedies depend on the actual transaction and written conditions.
Recognise common close-up mismatches early
The fastest way to improve a close-up plan is to name the mismatch rather than adding more product assumptions. Consider these four frequent patterns:
- Mirror-only approval: the outline was judged from very close range, but the recording angle is lower or wider. Adjustment: capture front and three-quarter video at the intended camera height before final styling.
- Straight-line placement: the front sits as a perfectly even band despite the wearer’s usual forehead and temple pattern. Adjustment: revisit the three-point outline map, part choice and a softer style rather than forcing a lower edge.
- Feature-to-shot mismatch: the plan pays for broad styling flexibility although the shot uses a fixed fringe, or expects a simple front feature to cover an exposed up-style. Adjustment: write the actual shot list before comparing constructions.
- Care-to-material mismatch: a heat tool or chemical process is chosen for a finish without checking whether that exact fibre or hair is approved for it. Adjustment: stop, check the maker’s conditions, and use a professional consultation when the process or sensitivity question warrants it.
If scalp discomfort, hair loss during medical treatment or a question about adhesive use is part of the decision, treat it as a healthcare and product-suitability conversation rather than a camera problem. The American Cancer Society notes that wig choice is personal, advises checking brand sizing and return conditions, and recommends asking the care team about adhesives during treatment.2 A wig is an appearance item, not a treatment, and no cap or adhesive should be assumed to prevent sensitivity or be appropriate for every scalp.
Planning example: a hypothetical one-minute interview
Hypothetical planning example — not a client story or test result. A speaker will record a one-minute seated interview. The closest framing is head-and-shoulders from roughly 1.2 m, with a window on camera left. They want an off-centre part and will turn toward the interviewer twice. This is a planning scenario, not evidence that any product will perform in this way.
The team fills the FOCUS sheet: framing is amber until a phone test is made; outline records a slightly higher right temple and a centre reference consistent with the wearer’s normal forehead; construction is amber because the listing identifies a front feature but does not answer the exact parting question; use conditions are green because the shot is indoors and seated; seller statements are red until care and transaction terms are read.
The practical next step is not to declare a winner. It is to test the proposed off-centre part with a neutral stand-in or existing styling, place the camera at the planned height, and ask the seller about the exact cap and parting feature. If the turned side exposes a transition that feels too prominent, the team can alter the part, shift the camera a little, use a different framing, or select a construction with documented compatibility for the style. Each choice has a trade-off: changing camera position may affect the visual brief, while changing cap type may add cost, care requirements or uncertainty about fit.
The same logic applies to a live brief. In a Mall event performance, venue lights, viewing distance and movement may differ from a close interview, so retest the visual plan instead of reusing a camera-only decision. A successful rehearsal identifies what remains uncertain; it does not certify all-day security or a universal natural appearance.
Run a two-pass camera check on the day
Pass one is for construction and placement. Under ordinary room light, check the cap is seated according to the maker’s guidance, the outline follows the map, the part does not conflict with the planned turn, and the style is not being held in place by an unapproved heat or chemical choice. Take a front image, both three-quarter angles and a short speaking clip. Check for comfort as a practical stop signal, rather than trying to push through discomfort for the sake of a shot.
Pass two is for production conditions. Repeat the views under the actual key-light direction, camera height and closest framing. Look specifically for a visible edge, lace contrast, a stark density change, part exposure, wardrobe rubbing or unwanted shine. Change only one factor at a time—part, small placement adjustment where appropriate, light angle, framing or flyaways—then record what changed. That creates a usable handover note for a stylist, director or assistant.
A useful final note is: “Approved for this shot plan after this test,” not “looks natural in every situation.” The latter claim is neither measurable nor supported by a brief camera check. Guidance on natural-looking wigs can be read as one source of styling ideas, while the actual item’s construction, conditions and your own camera test should control the decision.
Keep the comparison honest after the shoot
File the completed FOCUS sheet with the camera stills, light notes and the exact listing details used for the choice. Record what was tested, what was not tested, and whether any changes were made after the original plan. This makes future preparation faster without turning one successful setup into a broad claim about a cap type, material or retailer.
The central limitation is simple: catalogue imagery cannot account for every face, fit, light source, handling method or screen. Camera distance helps prioritise what to inspect; it does not predict comfort, security, durability or appearance with certainty. A close-up-ready result comes from a documented outline, a construction matched to the real shot, careful adherence to product conditions and permission to revise the plan when the test exposes a mismatch.
FlintHub Academy · AI-assisted editorial
FlintHub Academy shares planning information for creative learning and production contexts; it does not assume wig-fitting or medical qualifications. Learn more about FlintHub Academy.
References
- [1] Alternative Hair Care Guide — Jon Renau
- [2] Choosing and Wearing a Wig — American Cancer Society
- [3] Trade Descriptions — Hong Kong Customs and Excise Department
FlintHub Academy · AI-assisted editorial. FlintHub publishes creative-learning and event-planning information. This article is a desk-researched planning resource, not a first-hand product test or a claim of wig-fitting or medical qualifications.