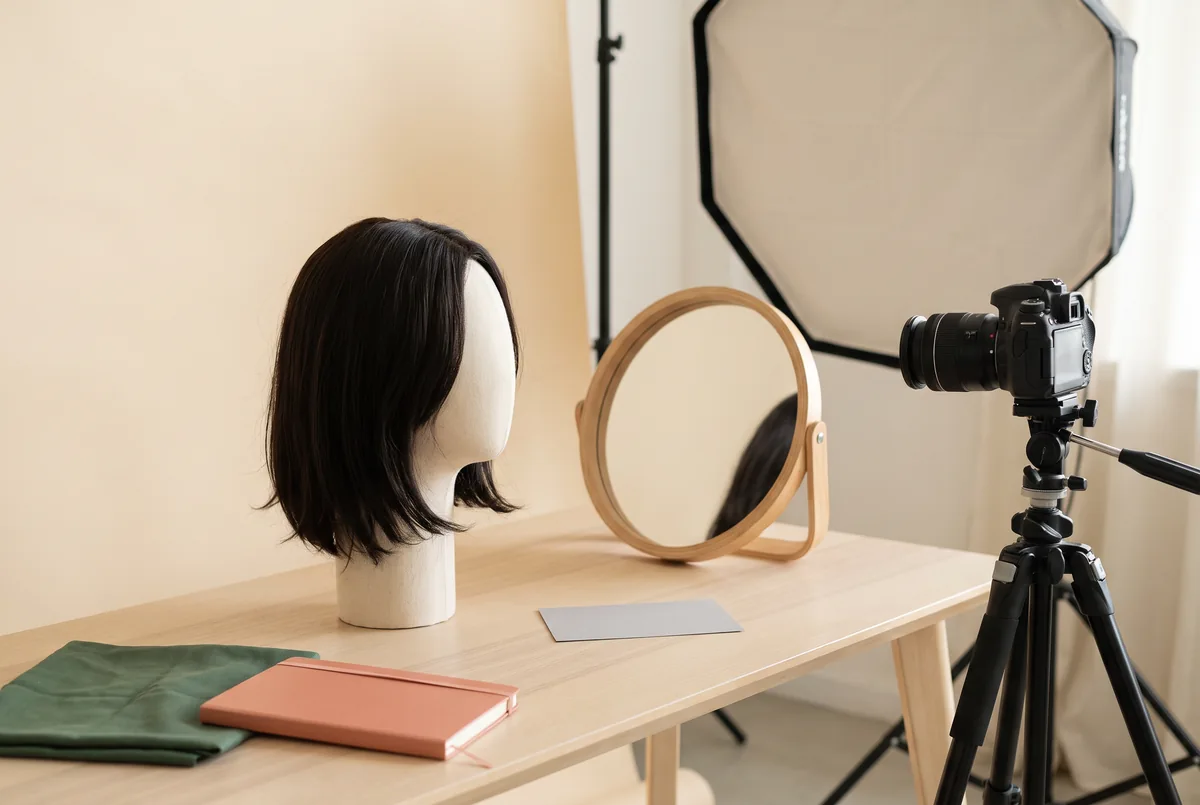
Test wig direction for portraits by photographing the same seated arrangement under three deliberately different light positions, then compare the hairline, surface texture and silhouette at the camera distance you will actually use. A contact sheet cannot predict a guaranteed on-camera result, but it makes a creative choice visible before a full shoot or workshop session.
This is a planning method for portrait sitters and creative-workshop participants, not a product review or a promise that any style will look a particular way. It works whether the subject is wearing a borrowed piece, a personal item or a styling sample, provided the wearer consents and the team keeps the test conditions honest.
The same observation-first approach also suits a Creative workshop: name the visual intention, test the materials in front of you and retain a record of the choice rather than claim a universal result.
What the contact sheet is designed to answer
“Direction” is more than a side part: it combines part line, fringe travel, root lift, length distribution and where ends point relative to face and shoulders. A sweep that looks composed under front light may make one temple, edge or crown more visible under a side key. Ask not “Which direction is flattering?” but “Which remains communicative in this frame and light?”
For disclosure, OwnStrand is an external website under the same owner as FlintHub Academy; its information is not an independent comparison recommendation. If a participant needs a terminology or shopping starting point, the site’s wigs page can be read as the brand’s own information, while the portrait decision should still be made from the participant’s test images and their stated brief.
A good three-light sheet makes four comparisons possible at once:
- Outline: Does the profile at the jaw, neckline and shoulders remain intentional rather than merge into the background?
- Texture: Do waves, fibre sheen, flyaways or a very uniform surface become more prominent under a harder light?
- Face access: Does the direction open the preferred eye, eyebrow and cheek, or cast an unplanned shadow across them?
- Continuity: Does the parting and crown still read plausibly when the sitter turns a small amount toward camera?
Treat the sheet as a record of comparisons under stated conditions, not evidence that one lighting recipe suits every face, fibre, camera or venue.
Build a controlled three-light test before styling further
The test needs repeatability more than elaborate equipment. Use one camera position, seat mark, background and exposure baseline. Keep chin and torso neutral for the initial nine frames. If direction changes, record whether the part, fringe, volume or end placement changed.
Make three lighting columns. The aim is to reveal different risks, not to declare one light “best.” A window may substitute for a soft source if its output stays stable, but a changing sky weakens comparison. Keep ambient spill consistent where possible.
| Light column | Simple arrangement | What it reveals | Decision risk it exposes |
|---|---|---|---|
| A. Soft front | Large soft source close to camera axis and slightly above eye level | General face access, fringe density and overall balance | A direction may look smooth because texture and edge detail are being softened |
| B. 45° side key | Key light 45° to one side, with restrained fill if needed | Part depth, temple edge, root lift and cheek shadow | A sweep toward the light can brighten surface shine while the far side loses separation |
| C. Edge or back-side light | Controlled rim/edge source behind and to one side; preserve exposure for the face | Flyaways, crown contour, shoulder line and fibre catchlight | A polished front view may show an obvious outline or artificial-looking sheen from behind |
Start with a neutral style: no dramatic pinning, no change of length distribution and no last-minute product addition. Photograph front, three-quarter and near-profile in each column. Nine frames are enough for a first decision; add only a second direction once the first grid is readable. More options tend to create noise unless each answers a different brief.
Before switching the part, leave the tripod, focal length, sitter mark and lens height untouched. Photograph a quick card showing the style label, for example: “Direction A: soft side sweep, more hair on sitter’s left.” That card prevents a common review failure: remembering the preferred image but forgetting which arrangement made it.
For participants developing visual awareness in a Photography workshop, this restraint is useful practice. It separates lighting decisions from styling decisions, instead of treating every successful-looking frame as proof that one of them caused the result.
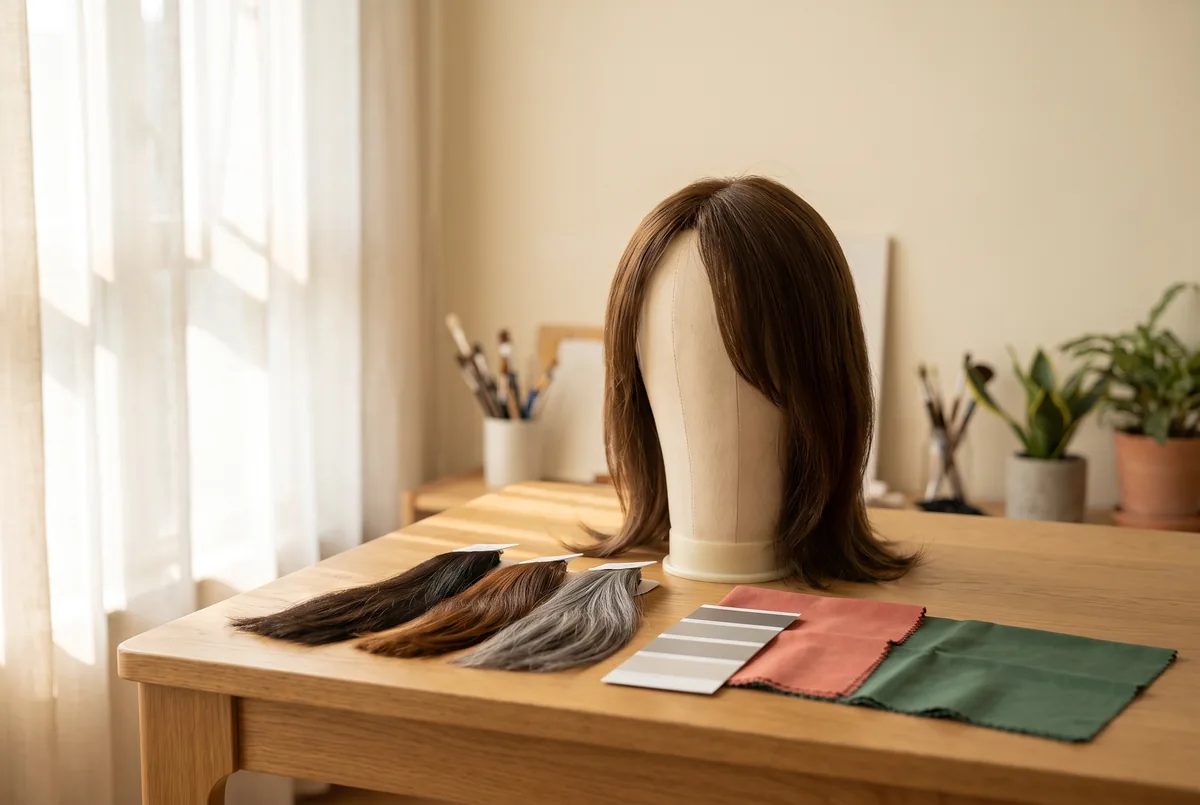
Set camera distance before judging the outline
Camera distance changes how much outline is visible and how prominent the face becomes relative to hair volume. Do not decide a neckline from a tight headshot when the delivery is half-length. Choose the crop first, then test at each intended use.
Use a focal length that serves the project rather than treating a number as a universal beauty rule. With the camera in a sensible working range, step back or forward to frame the selected crop; avoid using a very close camera position merely to make a loose neckline disappear. If the sitting must include shoulders, the shoulders are part of the styling information.
| Intended image use | Practical framing test | What to inspect | Direction or neckline adjustment to consider |
|---|---|---|---|
| Tight head-and-shoulders | Keep both shoulders just inside or just outside the crop consistently | Fringe, eyebrow access, temple transition, side volume | Move a heavy front section slightly back only if it obscures the intended eye or brow |
| Half-length portrait | Include shoulder line and upper torso, with the lens at a stable height | How ends meet collar, lapel, scarf or bare skin | Test one side behind the shoulder and one side forward; record which reads cleaner |
| Environmental portrait | Include garment shape and some surrounding context | Crown-to-background separation and whether length competes with the scene | Prefer an outline that stays legible against the planned background, even if it is less dramatic close-up |
A camera-distance worksheet turns this into a repeatable decision instead of a vague approval. Complete it at a realistic display size, not only while zoomed in at 100 per cent.
Use the light–texture–outline scoring method
Score each direction separately under each light column. A simple 0–2 system is sufficiently discriminating: 0 = distracts from the brief, 1 = acceptable with a known compromise, 2 = supports the brief. The score is not a quality rating of the wearer or the piece. It is a way to force the team to name what they are seeing.
Use the three categories below and write one observation beside every score. If two arrangements draw the same total, choose according to the priority set in advance: face access for an interview image, neckline continuity for a fashion crop, or edge control for a backlit setting.
- Light: Is the part, hairline and surface reflection controlled enough for this light? Note whether a bright streak is from placement, exposure or the fibre itself.
- Texture: Can the intended wave, curl, straightness or deliberately styled movement be read without becoming visually noisy? Note any uneven sheen or static flyaways.
- Outline: Does the crown, jaw-side mass, length and neckline form a clear silhouette against this background and garment?
A high total does not mean “most flattering.” It means “most coherent with the declared brief under the tested conditions.”
Do not hide a problem by giving it a generous score. For example, “Side key makes the far temple appear sparse” is better information than “looks fine.” The next person can respond by changing the light, changing the direction, widening the crop or accepting the feature as part of the image—not by assuming an unspoken correction will occur later.
This also explains why a contact sheet is more useful than comparing two highly edited hero images. Retouching may be appropriate later, but it should not replace the early decision about where the hair needs to sit and what the light will reveal.
Make neckline and fibre choices part of the same brief
Neckline, garment surface and hair fibre interact. A high dark collar can make a pale or glossy length stand out sharply; a textured knit can compete with dense curls; a bare shoulder may make an underlayer or long ends more visible. These are design relationships, not faults. The aim is to decide which relationship supports the portrait’s mood.
Before choosing material or applying heat, identify what the maker states for that piece. Jon Renau distinguishes human hair, conventional synthetic fibre and heat-resistant synthetic fibre; it advises against heat styling and blow-drying conventional synthetic fibre, and says care should match fibre type.1 This is product-specific guidance, not universal permission to heat-style similarly labelled items.
Where material is uncertain, avoid heat, colouring and chemical treatment. “Human hair” does not make bleaching, perming or high-temperature tools automatically safe; construction, processing and instructions still matter. Seek a qualified hair professional for a major alteration. A contact sheet compares direction; it cannot verify fibre composition or repair damage.
For face framing, use reference images as prompts rather than rules. The brand’s guide to wigs for face shape is a useful example of why people may begin with face-shape language, but a portrait team should still test the actual crop, expression, glasses, neckline and light. Face-shape categories cannot predict every individual’s preferred image or make a creative choice objective.
Reusable portrait planning worksheet
Copy this worksheet into a notes app or print it before a styling test. It deliberately includes unresolved fields; unknown information is safer than invented information. Complete the “after sheet” column only after comparing the unedited grid.
| Field | Before the contact sheet | After the contact sheet |
|---|---|---|
| Portrait purpose and main crop | e.g., author portrait; head-and-shoulders | Which crop will actually be delivered? |
| Camera position and distance | Lens/focal-length choice, tripod height, subject-to-camera distance | Kept fixed? If changed, why? |
| Direction A / Direction B labels | State which side carries more volume and where the part sits | Which direction remains readable in all needed views? |
| Light A / B / C | Record source position, softness and background | Which light creates the most usable compromise? |
| Neckline and garment | Collar height, lapel, scarf, shoulder exposure, fabric texture | Do hair ends separate from or deliberately join the garment? |
| Fibre and condition | Stated material; maker care instructions; any known restrictions | Any change needed? If uncertain, leave unchanged and seek advice |
| Scores and observations | Blank at setup | Light /6; Texture /6; Outline __/6; one specific note per score |
| Final decision and limit | Priority named before test | Chosen direction, accepted trade-off, and what has not been tested |
The last field preserves both the choice and its boundary. Material vocabulary can help a team ask questions, especially when selecting between human hair vs synthetic wigs, but the sheet should record actual reflection, movement and outline rather than assume one category photographs better.
Common mismatches and how to diagnose them
Many apparent styling failures are mismatches between one element of the test and another. Diagnose the mismatch before moving the part repeatedly, because repeated handling can flatten a crown or introduce a new variable.
- Soft-front success, rim-light failure: The style looks calm until edge light reveals flyaways or a hard line. Reduce the rim intensity or angle it away from the problem before changing the entire direction.
- Good face, weak garment relationship: A fringe frames the eyes but long ends disappear into a high collar. Compare one controlled placement in front of the shoulder against one behind it, then judge at the final crop.
- Strong texture, distracting sheen: A side key reveals pleasing waves but creates a broad reflective strip. First check light angle and exposure; do not assume the fibre must be replaced.
- Correct style, wrong distance: The outline feels oversized in a close camera position but becomes proportionate at the planned half-length framing. Re-shoot at the delivery distance before changing volume.
- Uncertain material, ambitious alteration: The intended direction seems to require straightening, curling, dyeing or adhesive. Stop and check the specific maker guidance; no general category label is a safety guarantee.
For hair loss, scalp concerns or treatment-related changes, portrait planning remains an appearance choice, not health advice. The American Cancer Society notes that wig selection is personal, suggests daylight colour comparison and checking sizing and return terms, and advises discussing relevant adhesives or scalp concerns with the care team.2 This neither implies that every person in treatment needs a wig nor transfers United States arrangements to Hong Kong.
Similarly, an online description should be read as product information, not a guarantee of suitability, delivery, comfort or returns. Hong Kong Customs explains that false, misleading or incomplete trade descriptions are prohibited; for a real purchase, confirm the seller’s written item description and transaction terms rather than infer a policy from a portrait test.3
A hypothetical planning example—not a client result
Assumption: A fictional participant, “Mina,” is preparing a half-length, indoor creative portrait. She has one shoulder-length piece with an uncertain care history, a matte navy high-neck top, a neutral wall and a brief that prioritises an open eye line over dramatic volume. This is a planning illustration, not a customer, survey, trial or result.
Mina labels Direction A as a soft left-heavy sweep and Direction B as centred with lower volume. Under soft front light, both leave the eye line visible. Under the 45° key, A creates a surface highlight, while B keeps the face even but lets ends blend into the collar. Under edge light, A separates the shoulder but shows more flyaways; B is quieter with less separation.
The worksheet records A for the half-length portrait because silhouette separation is the declared priority, not because it is universally superior. The trade-off is visible flyaways; with uncertain fibre history, the team will not use heat or colour. The choice was not evaluated outdoors, against a patterned garment or in motion: a reason, limit and next action.
Final check before the portrait session
Before the final setup, make a short hand-off list:
- Recreate the selected camera distance, crop and light direction from the sheet.
- Bring the garment, neckline accessory and background tone that were used for the decision—or repeat the test if one changes.
- Keep the original style label and one reference frame available for the person placing the hair.
- Confirm the wearer’s comfort and consent; do not use adhesives, heat or products outside the item’s stated conditions.
- State the accepted compromise aloud: for example, “We chose outline separation over maximum fringe drama.”
FlintHub Academy · AI-assisted editorial
About the author: FlintHub Academy shares planning information for creative learning. This AI-assisted editorial is not wig-fitting, hairdressing or medical advice, and does not assume specialist medical qualifications.
References
FlintHub Academy · AI-assisted editorial. FlintHub publishes creative-learning and event-planning information. This article is a desk-researched planning resource, not a first-hand product test or a claim of wig-fitting or medical qualifications.